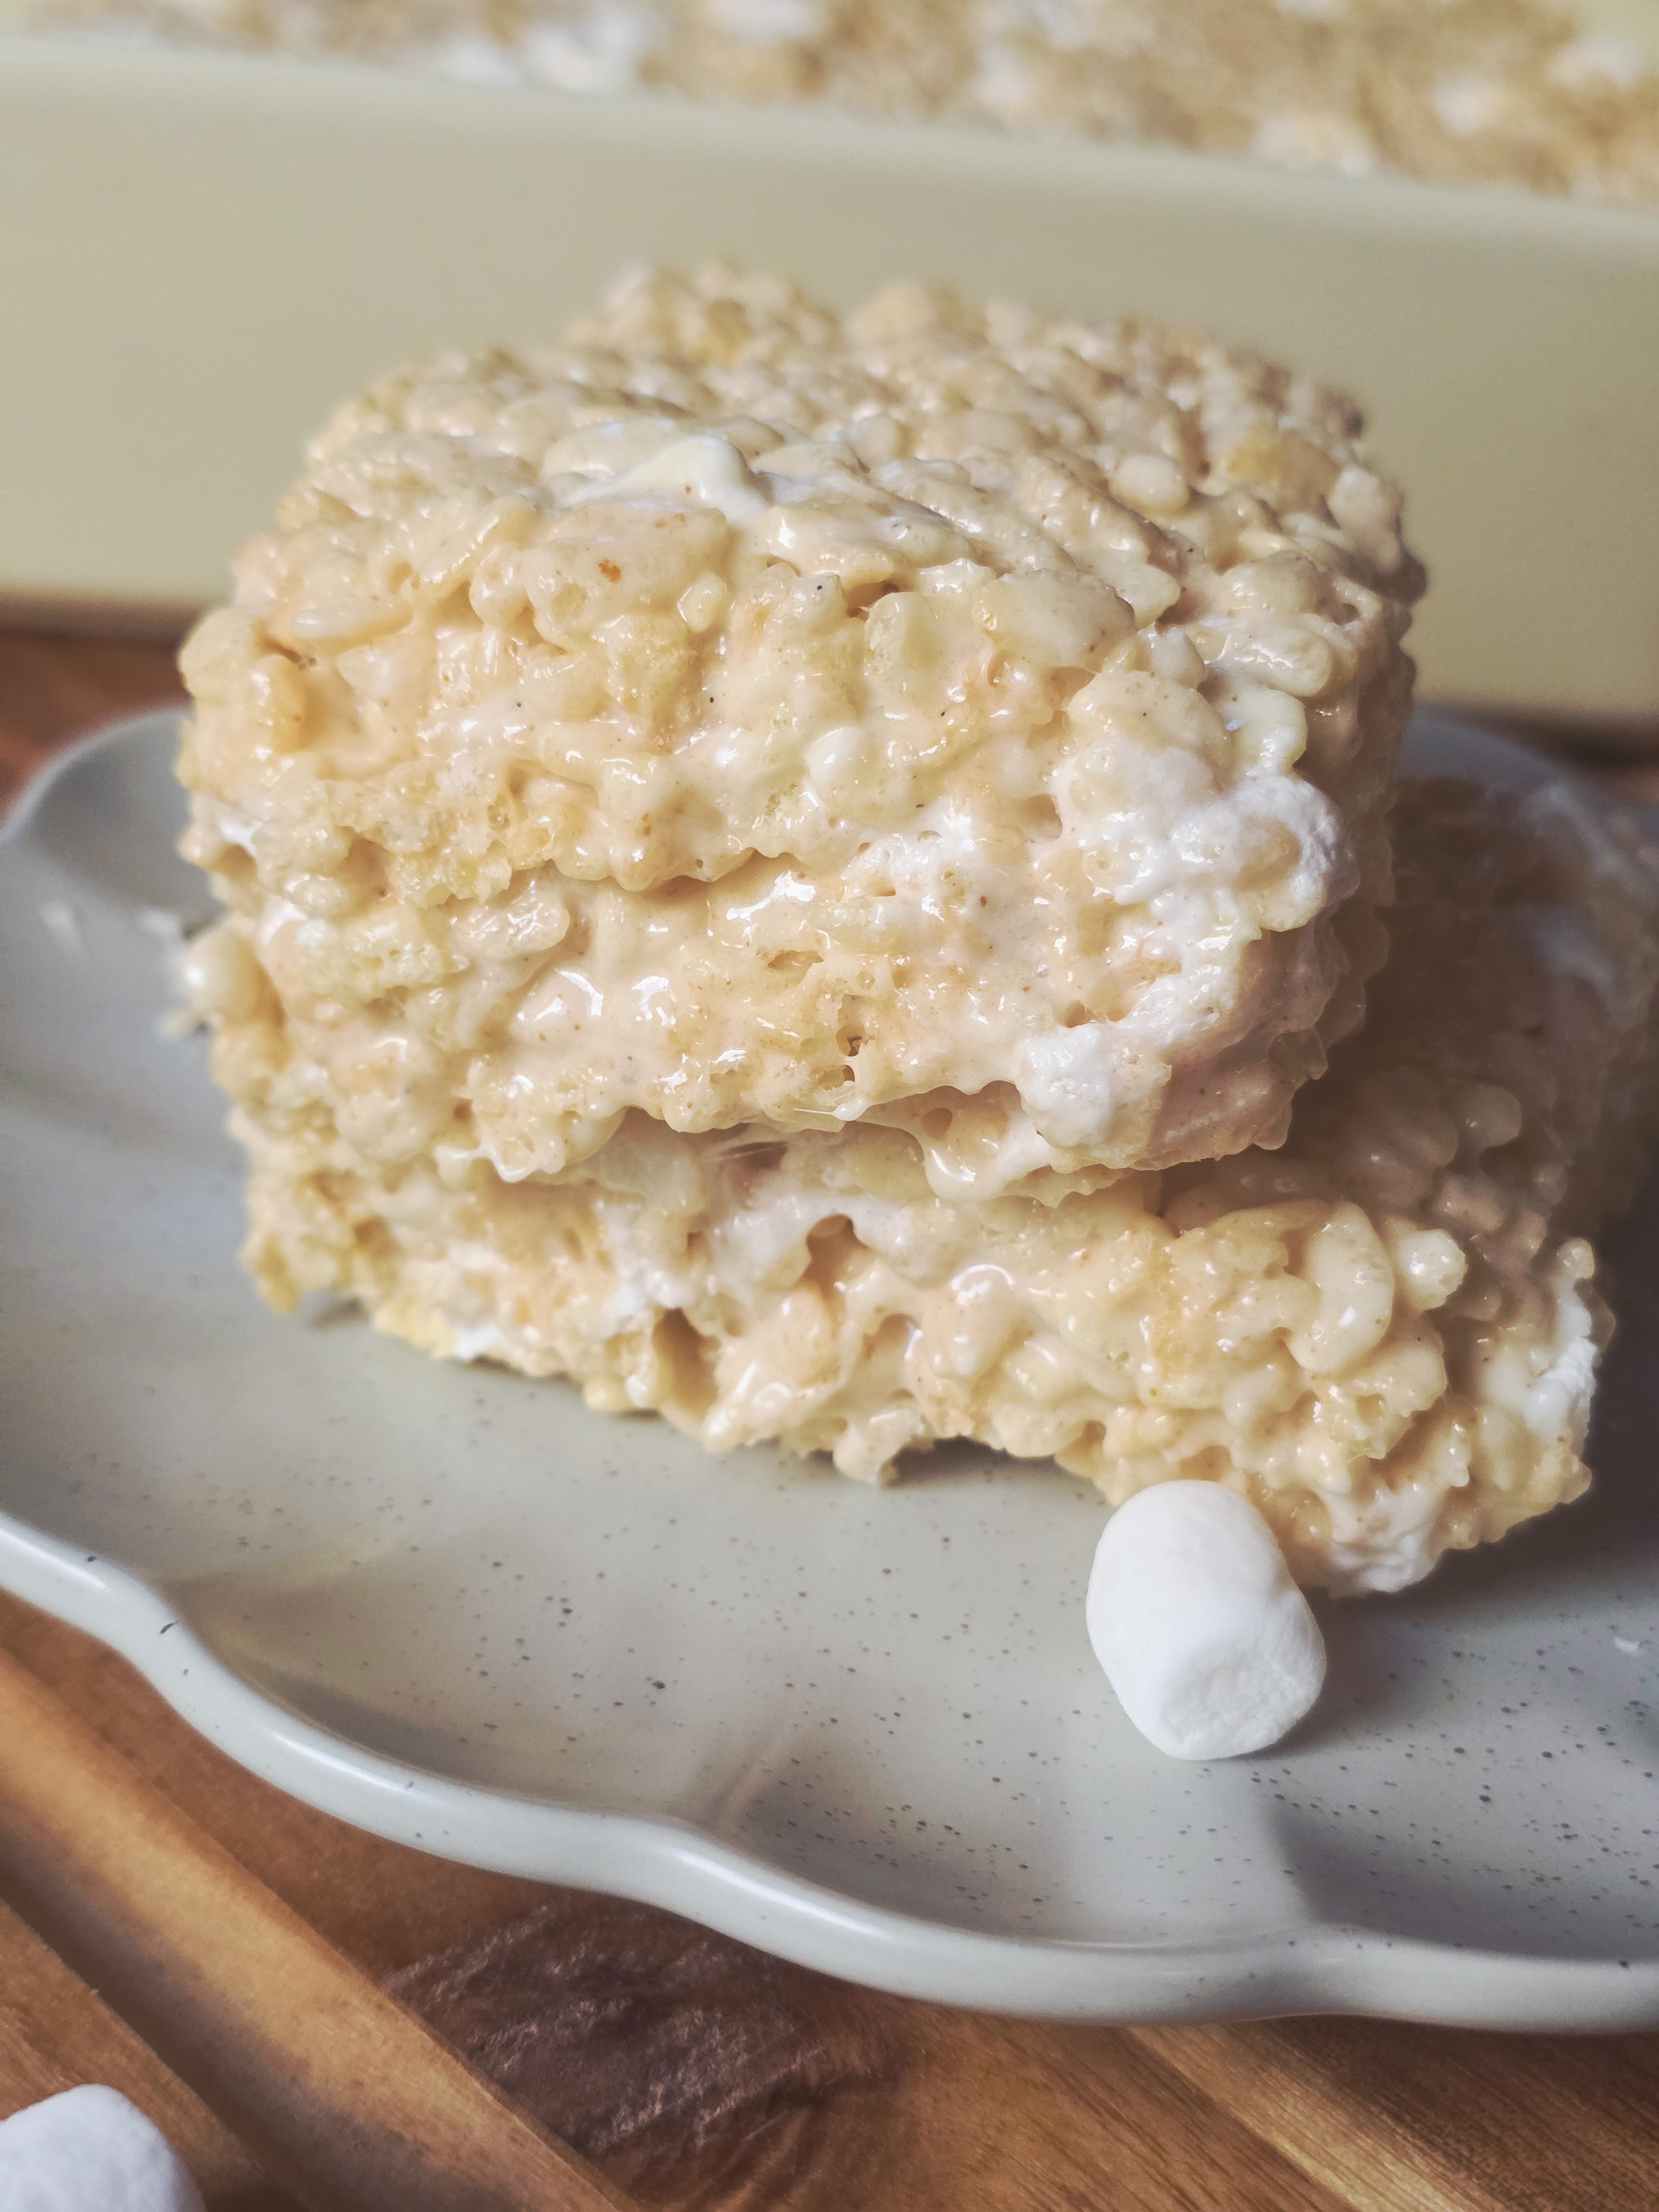
A fun spin on a classic treat! These brown butter rice krispy treats are both nutty and sweet with subtle hints of delicious vanilla. I use extra butter and extra marshmallows to create the ultimate ooey gooey texture.

Ingredients
- Rice Cereal
- Marshmallows
- Salted Butter
- Vanilla Extract / Paste


Browning the Butter
Step 1. Heat butter on medium heat in pan.
Step 2. Make sure to stir occasionally as you do not want your butter to burn.
Step 3. Cook on medium heat for about 5 to 7 minutes or until butter becomes a light golden brown.
Step. 4 Remove from heat. The residual heat from the pan will continue to brown your butter.


Melting the Marshmallows
Step 1. Add marshmallows to the pan with browned butter.
Step 2. Using a rubber spatula or wooden spoon gently start to stir the marshmallows with the butter.
Step 3. Continue to stir until all of the marshmallows have melted and the mixture is fully combined. The residual heat from browning the butter should be enough to melt the marshmallows but just in case it is not, put your pan on low heat and constantly stir until all of the marshmallows are completely melted.
Step 4. Stir in the Vanilla off the heat to make sure you do not burn off all of the vanilla flavor.

This is what the marshmallow mixture should look like. The marshmallows are completely melted, and you can see beautiful golden-brown specks from the brown butter. This is how you can tell the butter and marshmallows are fully combined.


Adding the Cereal
At this point you can totally add whichever cereal you prefer. The possibilities are endless from chocolate cereal to fruity cereal, or you can defiantly add whatever you have on hand. I am undeniably a plain jane and love the original rice cereal so of course that is what I am going to add almost every time.
Step 1. Add the cereal about in about 3 batches. You for two reasons. One, its harder to combine into the marshmallow mixture and two, you might not end up using all of the cereal. Depending on the weather there might be less moisture in the air which will affect the texture of your rice krispies.
Step 2. Gently stir in the cereal until combined, adding more cereal until you have either used up all of the cereal or achieved the desired texture. Whichever one comes first.
Step 3. Allow to cool slightly (1-2 minutes) and then add the remaining 2 cups of mini marshmallows to the rice krispies.

Cooling the Rice Krispy Treats
Step 1. Pour Rice Kripsy mixture into prepared pan.
Step 2. Evenly spread the rice krispy mixture with the back of a rubber spatula or spoon. I like to grease my spatula so that when I spread out the mixture none of the marshmallows stick to the back of the spatula.
Step 3. Allow Rice Krispies to cool down completely. This should take around 45 minutes to 1 hour.
Step 4. Cut cooled rice krispy treats into 12 equal squares.
Step 5. Enjoy with family and friends, or if you are like me…enjoy the WHOLE pan by yourself!


Rice Krispy Treats have got be hands down one of my favorite desserts. It just so happens to consist of some of my all-time favorite ingredient’s butter, marshmallows. and vanilla. I have spent years making and perfecting this recipe so that it has just the right ratio of butter to marshmallow to cereal. I hope you all enjoy making these as much as I do!

I mean come on; just look at that marshmallow pull!!

Brown Butter Rice Krispy Treats
Equipment
- 1 20 qt stock pot
- 1 9×13 cake pan
- 1 Rubber Spatula/ Wooden Spoon
Ingredients
- 1 Cup Butter Browned
- 10 cups Marshmallows
- 8 cups Rice Cereal
- 1 teaspoon Vanilla Extract
- 2 cups Mini Marshmallows
Instructions
- Start by preparing your 9×13 pan. Lightly grease your pan with pan spray or butter. I like to place parchment paper over the greased pan and then grease again. This helps so that you can easily remove the rice krispy treats from the pan and cut into even slices.
- Place the butter in a saucepan and put on medium heat. Allow the butter to slowly melt. You don't want your heat on too high as it could result in your butter burning. This is more of a gentle simmer where you are allowing the milk solids to separate from the fat and slowly cook to a light golden brown. The butter will start to foam at the top and I like to gently stir at this stage to allow the butter to brown evenly. The butter will have a slightly nutty smell and be golden brown when it is ready. Remove butter from direct heat and allow the residual heat from the pan to continue browning your butter. I always take it off at a light golden brown, and its perfect every time.
- Once your butter is browned add in the first 10 cups of marshmallows. I prefer to use mini marshmallows because they melt faster and more evenly but honestly any size is fine. Using a rubber spatula or wooden spoon, stir in the marshmallows off the heat in hot pan to prevent any burning, making sure to stir constantly until all of the marshmallows have melted down completely. If your marshmallows are not melting from the residual heat from the pan feel free to place back on a low heat until the marshmallow melt, making sure to remove from heat after they are fully melted.
- Next, stir the vanilla into the melted marshmallow mixture.
- Now, gently fold the rice cereal into the melted marshmallows. You want to make sure you are doing this off the heat. Fold in the cereal in stages that way you can ensure even distribution of cereal and marshmallow mix. Continue until all of the cereal is thoroughly mixed in.
- After the cereal is completely blended allow mixture to cool slightly (1-2 min) then add in your additional 2 cups of mini marshmallows. Make sure not to overmix as you do not want them to melt.
- Pour mixture into prepared pan and smooth evenly. There are many ways you can smooth the top of your rice krispy treats. I always find that by spraying your spatula with pan spray you can easily move the rice krispy mixture around without it sticking to you and everything else it comes in contact with. Allow to cool completely. Approximately 30-45 minutes.
- Cut into 12 equal pieces. Each piece should be around 2 in. each.
- Keep fresh in airtight container for up to 5 days.
- I hope you enjoy these as much as I do!


Leave a Reply